ARM Quad-Core Processor based thin client. Powerful yet compact. Completely fanless design allows for silent operation in home and office environment. Compact product designed and manufactured in India for Indian conditions. Built-in Thinux Embedded Linux thin client firmware with Google Chrome and Mozilla Firefox web browsers. RDP, VNC and X11 connectivity and much more.
MICRO 4 THIN CLIENT CONFIGURATION
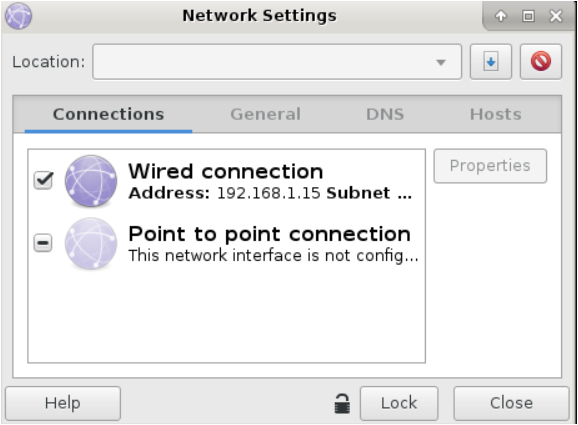
- Go to Network icon
 on your desktop.
 - Network settings window popped up on the screen. Click on Unlock

- An Authentication Dialogue Box popped up. Enter the password for root as thinux and then click Enter.
- Now go to Connections on the network settings window. Click on Wired connection and click on Properties.
UPDATING NETMASK AND GATEWAY ROUTER SETTINGS
- An ethernet properties window popped up. Choose Configuration as static IP address.
- Click on “Wired Connection” and enter the necessary network details such as the IP address, Subnet mask and Gateway address to establish connection. Both the devices Server and Thin client should be on the same network.
- Now click on OK and then click on Lock. Close the Network setting window.

- Check the network connection using ping command. Example- ping 192.168.x.xx
MANAGING RDP PREFERENCES
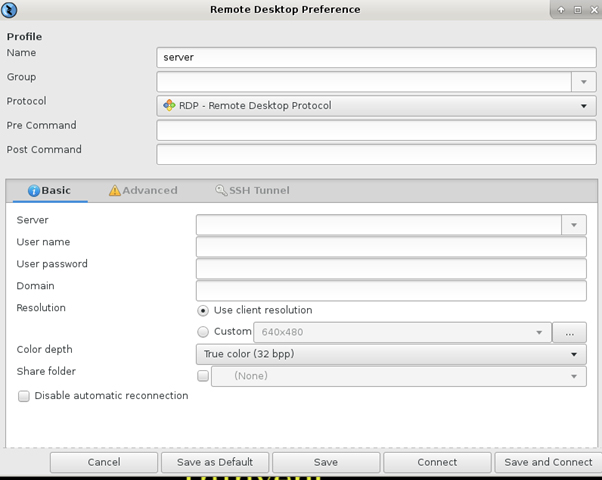
- A Remote Desktop Preference window popped up. In the Profile section, Choose a Name for the connection. For example it could be the server name.
- Leave the Group blank. Then select Protocol as RDP- Remote Desktop Protocol. The drop down menu shows available list of protocols supported by Thinux. Leave the Pre Command and Post Command blank.
- In the Basic RDP Configuration, enter the IP address in the space given for server. Enter the Username and Password you created on the server. Leave the Domain blank. Select Use client resolution . Choose True color (32 bps) as Color depth. Now click on SAVE.
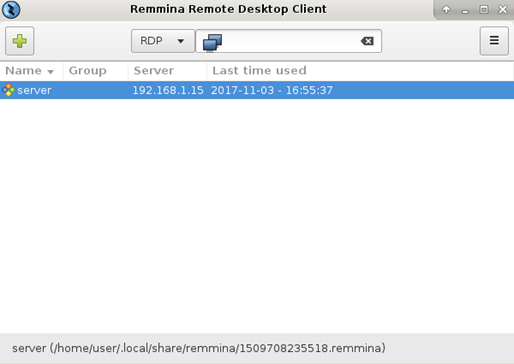
- Now in the Remmina Remote Desktop Client window, you can see the name of the user you created in the Remote Desktop Preference Window. Double click on that.
- Now Accept Certificate Window has popped up. Click on OK.
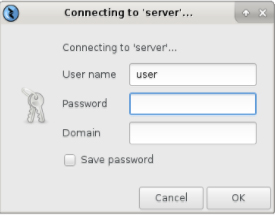
- Connecting to server window popped up. Now enter the Password and click on OK.
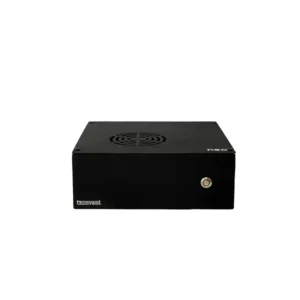
Related products
-
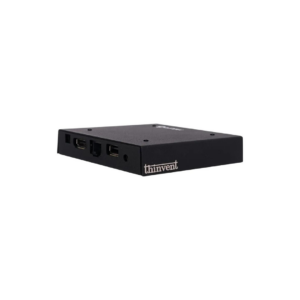
Micro 6 Mini PC
₹4,799.00 -

Neo R Thin Client
₹9,749.00 Select options This product has multiple variants. The options may be chosen on the product page -
Neo H Mini PC