Static and Dynamic IP configuration
-
Click on the Thinux applications menu on the left top end of the window to access web browser. .
-
Open Firefox or Chrome web browser from the Thinux applications menu.
-
In Firefox/Chrome type in localhost or 127.0.0.1 on the browser’s address bar.
-
Enter root as the Login name and thinux as the password in the webmin login dialog box.
-
Select Networking option from the left pane of webmin configuration page then Click on Network Configuration option under Networking section to list the network interface(wired or wireless) present in the system.
- To configure wired network select eth0 interface and for wireless network select the wlan0 option.
- Follow the steps below to configure the selected network device.
Wired Network (eth0)
- Name :- eth0 indicates wired the network interface.
- Activate at Boot ? :- Select ‘Yes’ checkbox to activate the network at system startup or ‘No’ checkbox to disable network actiovation at system startup.
- Protocol :- Select DHCP to assign dynamic IP or Static to assign static IP to the thin client.
IP Address:- Enter IP address to be assigned to the thin client if Protocol selected is Static. Eg. Enter 192.168.2.123 as static IP address to be assigned the thin client.
Netmask:-. Enter the netmask address for the network such as 255.255.255.0.
Primary Name Server:- Enter DNS address for the network such as 8.8.8.8 to resolve host names
Secondary Name Server:- Enter the address of Secondary Name Server such as 8.8.4.4.
default domain:- Enter the domain name of the network.
Press Save and Apply and Wait a few seconds for the network interface to restart with newly assigned IP address.
Related products
-
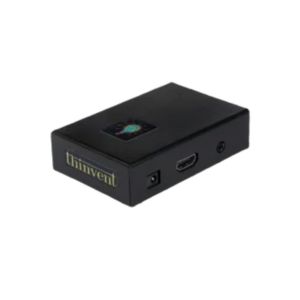
Micro 4 Mini PC
-
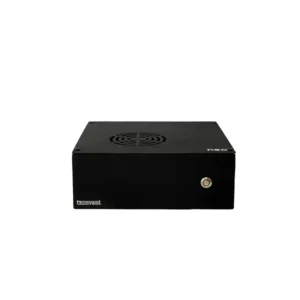
Neo H Mini PC
-
Sale!
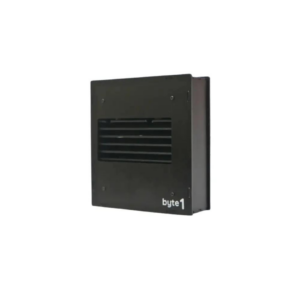
Byte 1 Mini PC
₹12,349.00 – ₹20,699.00 Select options This product has multiple variants. The options may be chosen on the product page