Choose Your Perfect Thin Client

Entry Level
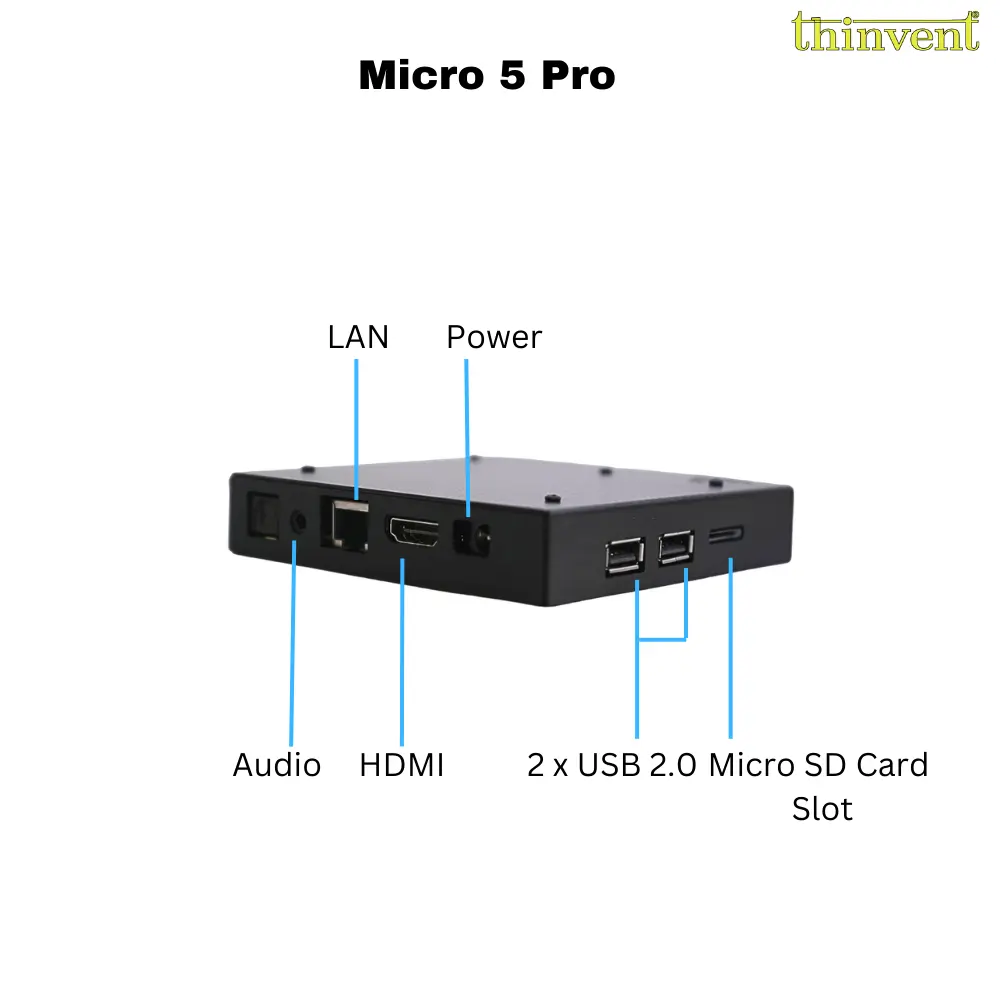
Micro 5 Pro
₹3,000
Perfect for schools
- 1.5 GHz Quad Core, ARM® A53 Processor
- 2 GB RAM
- 16 GB SSD
- 1 × HDMI
- 2 × USB 2.0
- Speaker & Mic Jacks
- 100 Mbps Ethernet
- Dual band WiFi
- 0.3 litre, 200 grams
பிரபலமான
Premium
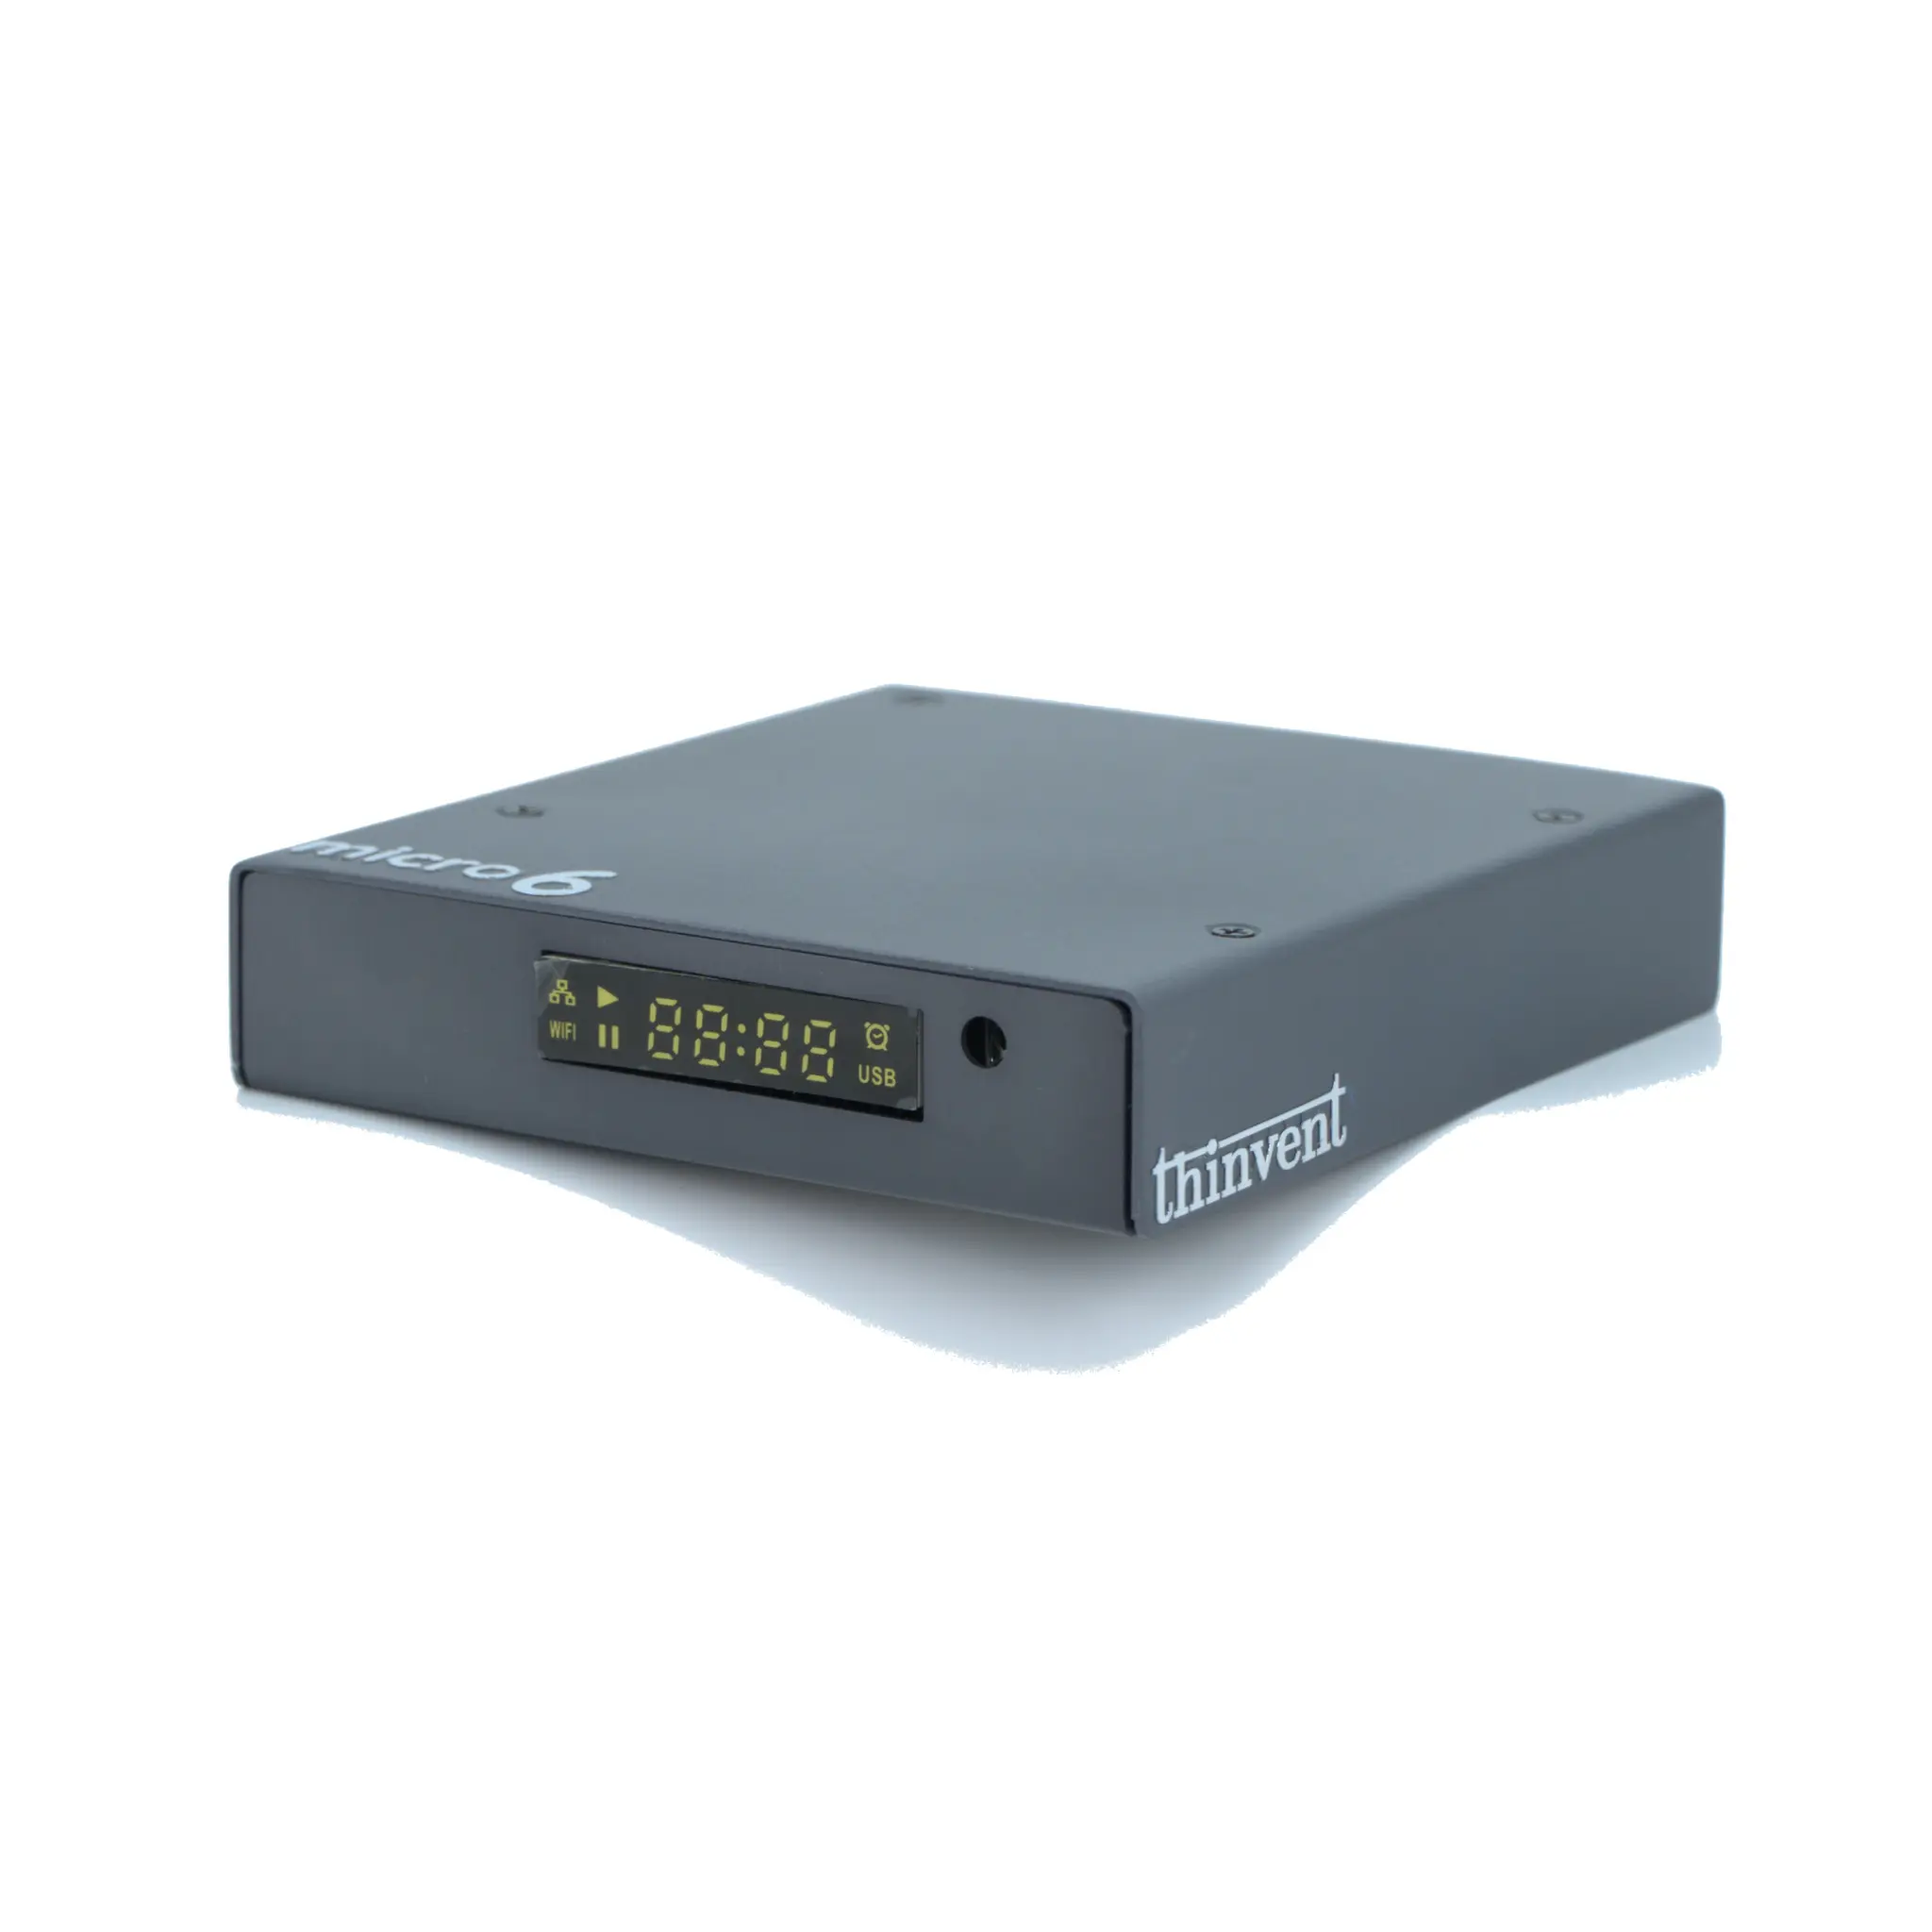
Micro 6 Pro
₹6,700
Perfect for small businesses
- 1.9 GHz Quad Core, ARM® A55 Processor
- 4 GB RAM
- 64 GB SSD
- 1 × HDMI
- 1 × USB 2.0, 1 × USB 3.0
- HDMI Audio
- 100 Mbps Ethernet
- Dual band, dual antenna WiFi
- 0.2 litre, 250 grams
Enterprise
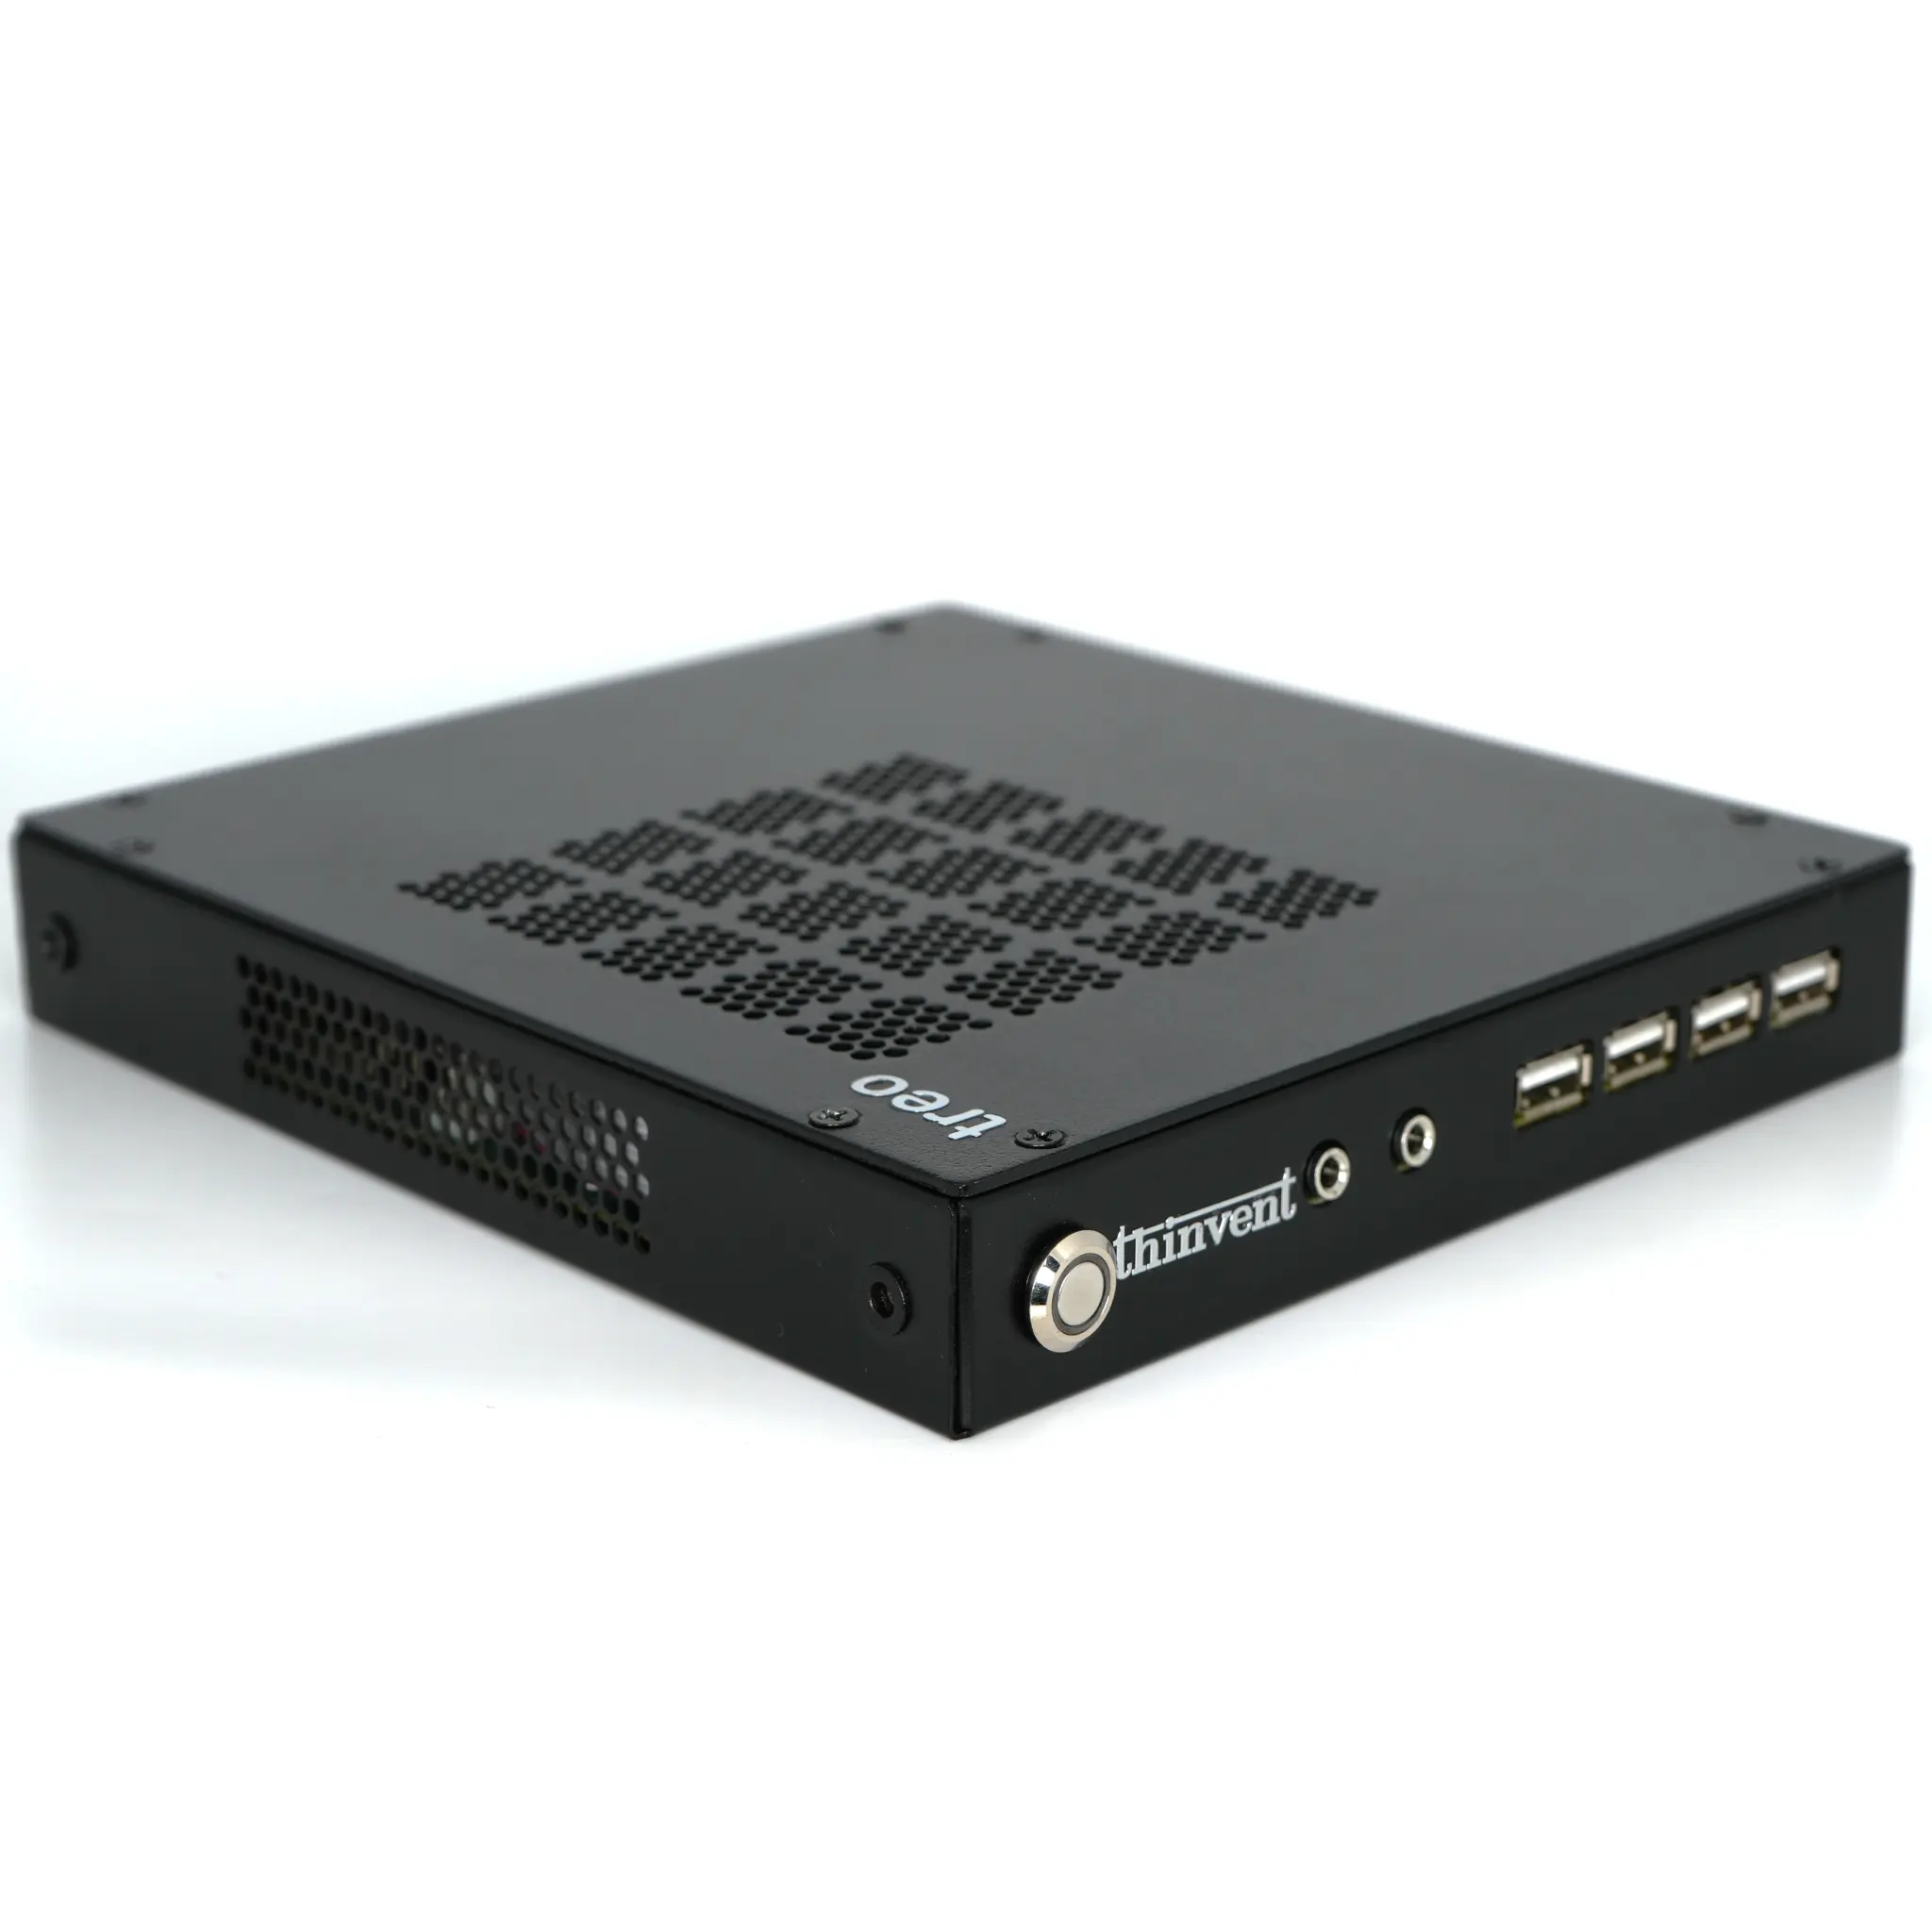
Treo Thin Client
₹21,800
For large organisations
- 3.4 GHz Quad Core, Intel® N100 Processor
- 4 GB RAM
- 128 GB SSD
- 1 × HDMI
- 4 × USB 2.0, 4 × USB 3.0
- HDMI Audio, Speaker & Mic Jacks
- 1 Gbps Ethernet
- Optional dual antenna WiFi
- 1 litre, 1 kg
